1. Background
To help Portal company administrators who want to configure their Portal settings to get the most out of Virtual Cabinet, and apply their own custom branding.
2. Portal Administrators
You must be a portal company administrator to perform tasks detailed in this document.
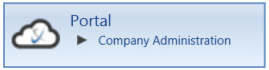
If you do not know who your portal company administrator is, then you can ask a Virtual Cabinet administrator to check this for you by opening Company Administration in the Portal area of the Virtual Cabinet Admin tab.
If you do not know who your portal company administrator is, then you can ask a Virtual Cabinet administrator to check this for you by opening Company Administration in the Portal area of the Virtual Cabinet Admin tab.
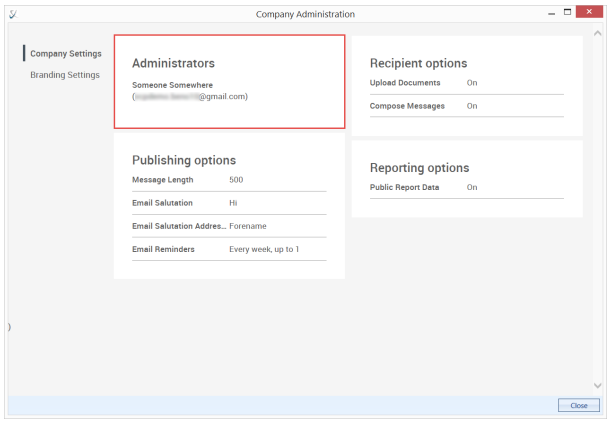
Company Administration will display a list of your portal company administrators. All of them will be able to perform the tasks in this document.
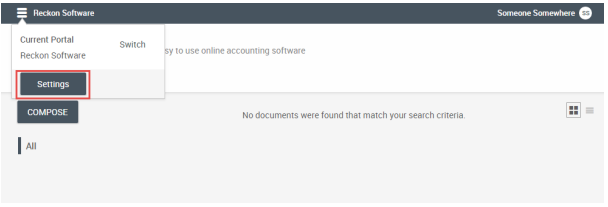
Portal administrators can perform administrative tasks either via Company Administration in Virtual Cabinet, or by logging on to the Portal website, clicking on the company hamburger and selecting Settings.
3. Company Settings
Company Settings contains a lot of great functionality to configure your system!
Company settings can be accessed via Company Administration in Virtual Cabinet or via Company Settings on the Portal website.
Company settings can be accessed via Company Administration in Virtual Cabinet or via Company Settings on the Portal website.
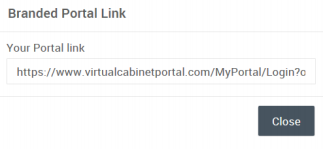
4.1 Branded Portal link
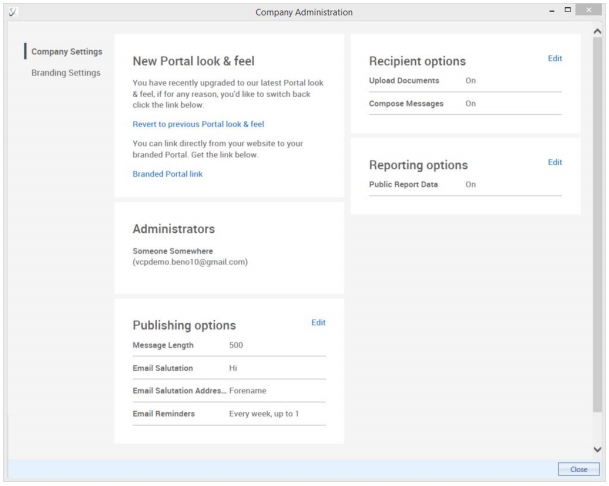
If you are using the latest portal look & feel, you can get a Branded Portal link.
Your Branded Portal link will send your users to your own branded version of your Portal.
If you're sending users to your Portal from your website, we recommend setting up your own branded link:
Your Branded Portal link will send your users to your own branded version of your Portal.
If you're sending users to your Portal from your website, we recommend setting up your own branded link:
4.2 Administrators
Portal administrators can change your company settings as detailed on this page, and are also responsible for maintaining Portal Users via Virtual Cabinet.
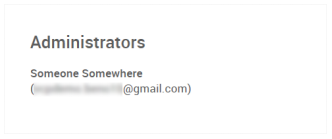
If you'd like to change your Portal Administrator(s) please contact the Virtual Cabinet Support team
4.3 Publishing options
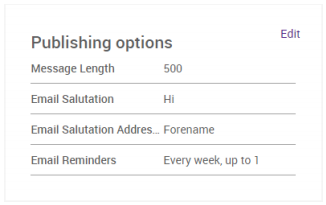
Options to give you the control you need over the publishing process:
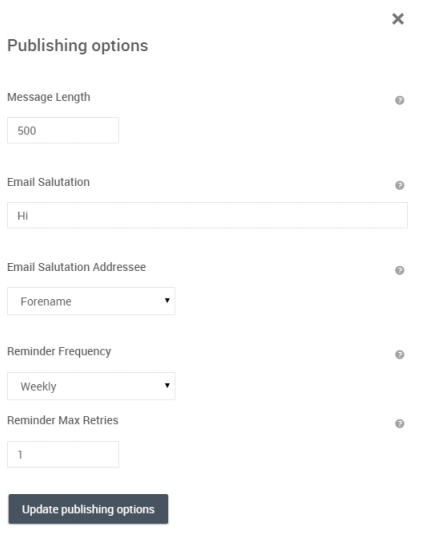
Click "Update publishing options" to apply any changes.
4.3.1 Message Length
You can specify the maximum number of characters that can be used in a message when publishing new documents and packs via Virtual Cabinet.
4.3.2 Email Salutation
Choose the greeting used in email notifications to your recipients e.g. Hi, Dear, Hey, G’day
4.3.3 Email Salutation Addressee
How the recipient is addressed e.g. Forename
4.3.4 Reminder Frequency
Send automatic email reminders to recipients that have not read or actioned documents that have been published to them.
The reminder frequency can be set as None, Daily, Weekly or Monthly
The reminder frequency can be set as None, Daily, Weekly or Monthly
4.3.5 Reminder Max Retries
How many automatic reminders will be sent to recipients.
E.g. If you want to send a reminder every week for a maximum of 4 weeks, you would set the frequency to weekly and the max retries to 4.
N.B. Recipients can opt out of receiving subsequent reminders on a per document / pack basis.
E.g. If you want to send a reminder every week for a maximum of 4 weeks, you would set the frequency to weekly and the max retries to 4.
N.B. Recipients can opt out of receiving subsequent reminders on a per document / pack basis.
4.4 Recipient options
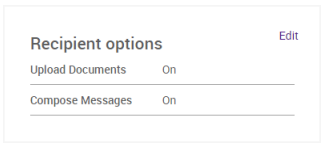
Allows you to specify what your portal recipients can and can’t do when using the portal:
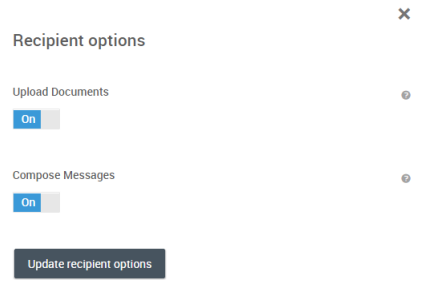
4.4.1 Upload documents
When turned on, recipients can send a document to anyone who has ever published to them, at any time.
4.4.2 Compose messages
When turned on, recipients can enter messages when performing certain actions such as signing documents.
4.5 Report options
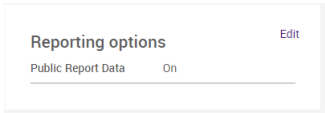
Allow you to specify whether publishers within your company can see each others report data (Public).
Turning the setting to off will restrict publishers to their own report data, with the exception of Portal Administrators who can continue to access the report data of others.
Turning the setting to off will restrict publishers to their own report data, with the exception of Portal Administrators who can continue to access the report data of others.
5. Brand Settings
Set up your portal with your own company branding!
Branding settings can be accessed via Company Administration in Virtual Cabinet or via Company Settings in the Portal website.
Branding settings can be accessed via Company Administration in Virtual Cabinet or via Company Settings in the Portal website.
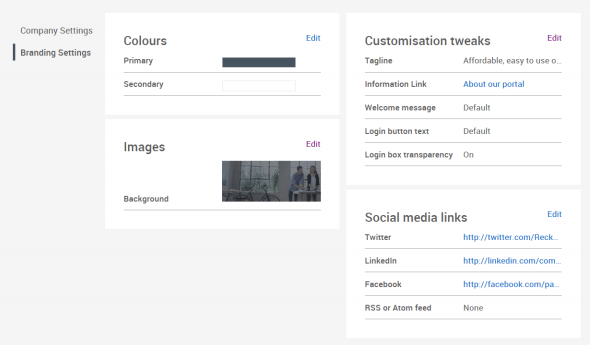
5.1 Colours
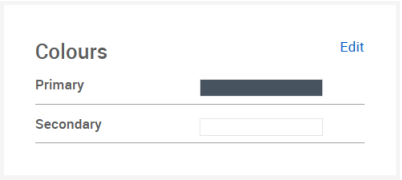
Configure Primary and Secondary colours by clicking the Edit link in the Colours card:
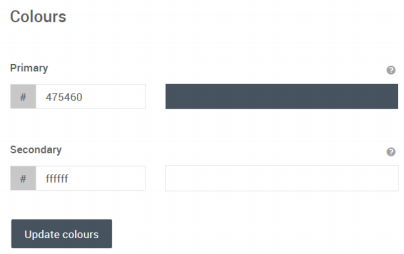
You can enter 3 or 6 digit HEX values to select a colour.
Click "Update colours" to apply any changes.
Click "Update colours" to apply any changes.
5.1.1 Primary Colour
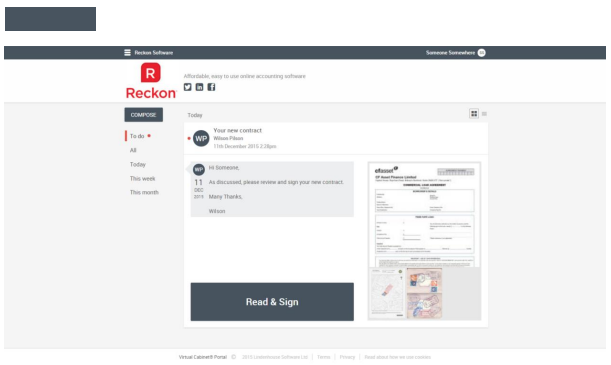
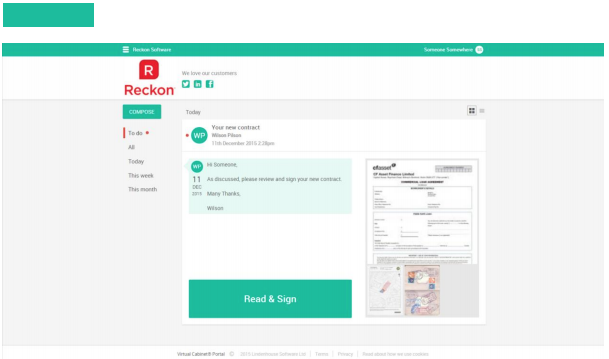
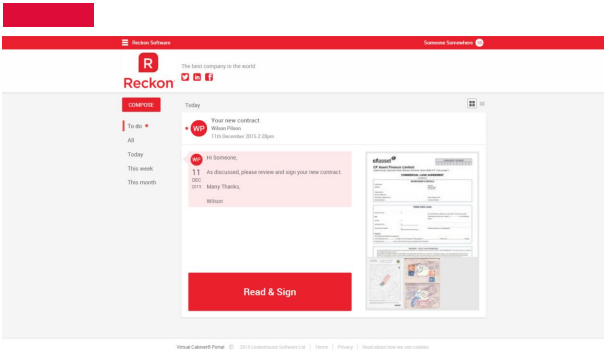
The Primary colour is used extensively in the Portal, and is used for banners, buttons, icons and more besides.
It’s also used to for background colours, as in these examples:
It’s also used to for background colours, as in these examples:
5.1.2 Secondary Colour
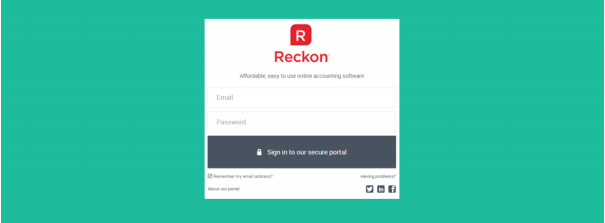
The secondary colour is only used as the background colour on the login page.
If you do not apply a background image, the secondary colour will be used instead.
For example:
If you do not apply a background image, the secondary colour will be used instead.
For example:
5.1.3 HEX Colour Values
If you don’t know the HEX values of your corporate brand colours (the most likely candidates for your primary and secondary colours):
- If you've got your RGB (Red,Green,Blue) values for you corporate colours instead, simply plug them in to the following third party website to get the HEX equivalent:
http://www.rgbtohex.net/
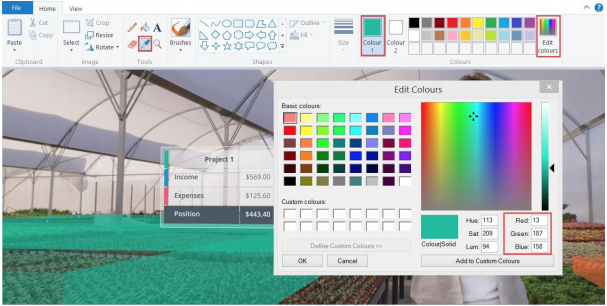
- Otherwise we’d suggest using a colour picker. Grab one of your corporate images (like your logo) and open it in Microsoft Paint:
- If you've got your RGB (Red,Green,Blue) values for you corporate colours instead, simply plug them in to the following third party website to get the HEX equivalent:
http://www.rgbtohex.net/
- Otherwise we’d suggest using a colour picker. Grab one of your corporate images (like your logo) and open it in Microsoft Paint:
- Select the Colour Picker tool in the tools menu
- Click the colour you want to use for your portal colour
- Your selected colour will appear in the Colours menu
- Click Edit Colours
- Hey presto! You now have the RGB values of your chosen colour that you can convert to HEX using the link above
There are also some other great tools out there like:
http://www.colorcombos.com/grabcolors.html that will grab all the colours from a website and give you the HEX values.
It’s useful to note that the 6 digit HEX value for WHITE is FFFFFF
http://www.colorcombos.com/grabcolors.html that will grab all the colours from a website and give you the HEX values.
It’s useful to note that the 6 digit HEX value for WHITE is FFFFFF
5.2 Images
Note: The Portal Company name logo cannot be updated from the client site. If you would like to change your Portal logo, contact the Support team with a copy of the new logo, in either .JPG or .PNG format — choose .PNG if you need a transparent background.
The logo will be resized by the update tool to fit an area of 300x110 pixels.
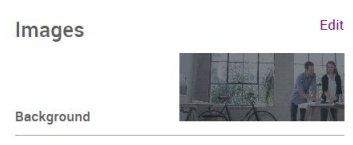
Configure a background image for your Portal Login page by clicking the Edit link in the Images card.
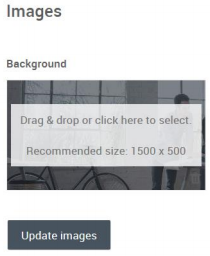
Choose an image by clicking, or dragging and dropping, where shown.
Delete an image by hovering over it, then clicking the trash icon that appears in the bottom right corner of the image.
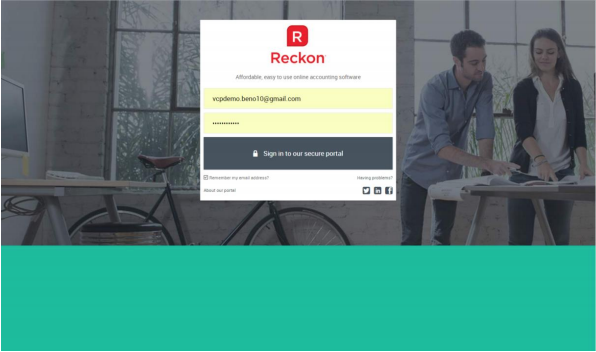
Be aware: that the login box will appear in the middle of the image.
The recommended image dimensions are: 1500 x 500 pixels.
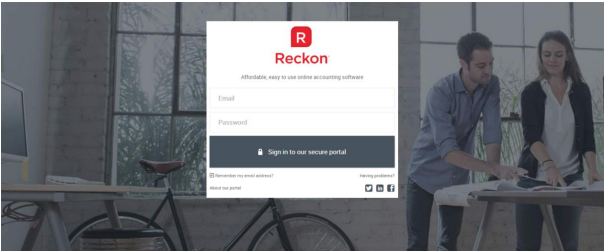
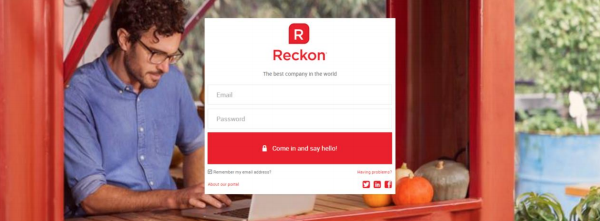
Some examples of how you can use background images to personalise your Portal for your users:
Delete an image by hovering over it, then clicking the trash icon that appears in the bottom right corner of the image.
Be aware: that the login box will appear in the middle of the image.
The recommended image dimensions are: 1500 x 500 pixels.
Some examples of how you can use background images to personalise your Portal for your users:
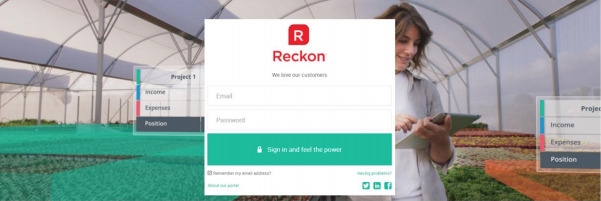
5.3 Customisation tweaks
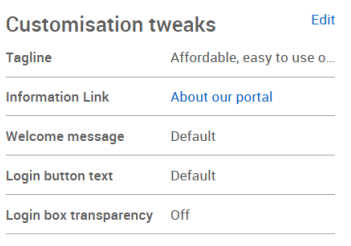
Customise the portal experience even more with customisation tweaks:
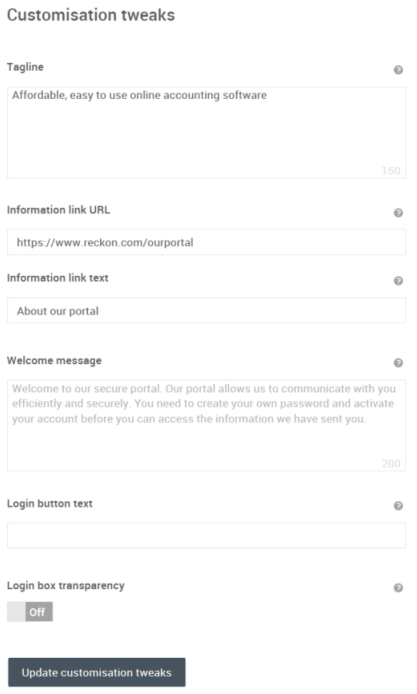
Click "Update customisation tweaks" to apply any changes
5.3.1 Tagline
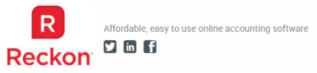
Your tagline appears in the following places:
1. Below your logo on the login page, for example:
1. Below your logo on the login page, for example:
2. Next to your logo on all other pages, for example:
5.3.2 Information Link URL & Information Link Text
Add a hyperlink to your account activation and login pages.
For example, you could configure the link, and the text, to point back to you own website explaining a little more about you and how & why you use the portal.
Tip: one of our customers talks about how Virtual Cabinet is their "Secure Online Letterbox" to their users - which seems to be well understood and received.
For example, you could configure the link, and the text, to point back to you own website explaining a little more about you and how & why you use the portal.
Tip: one of our customers talks about how Virtual Cabinet is their "Secure Online Letterbox" to their users - which seems to be well understood and received.
5.3.3 Welcome message
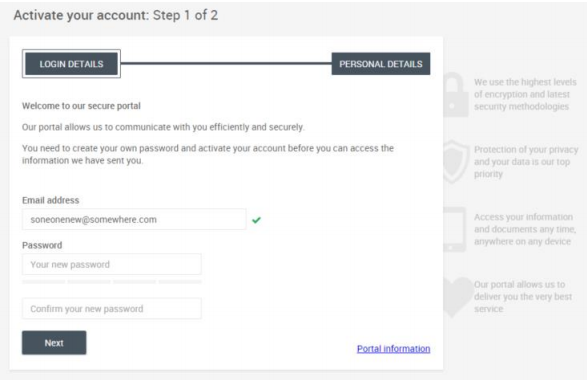
Set a Welcome Message to appear during the Account Activation process for your new users.
There’s a pretty good default one, but you can override it with your own if you want to add your own flare:
There’s a pretty good default one, but you can override it with your own if you want to add your own flare:
5.3.4 Login button text
If you'd prefer something other than “Sign in to our secure portal” then feel free!
5.3.5 Login box transparency
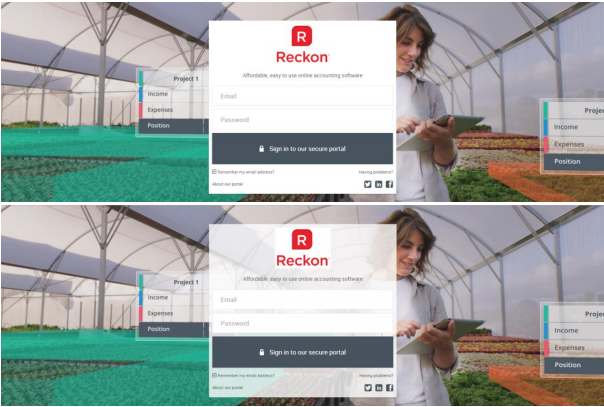
Ooh….you have a beautiful picture as your login page background, but it’s covered up with a big white login box.
Never fear, with transparency turned on, you don’t completely obliterate what’s in the middle of your picture.
Tip: if your company logo has a background, it might not look perfect, as you can see below:
Never fear, with transparency turned on, you don’t completely obliterate what’s in the middle of your picture.
Tip: if your company logo has a background, it might not look perfect, as you can see below:
5.4 Social media links
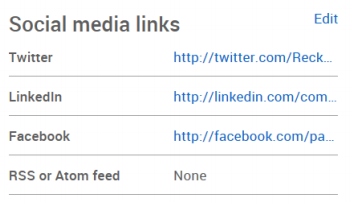
Add Social Media links for Twitter, LinkedIn, Facebook, RSS or Atom feed.
If you don’t configure them: the corresponding icons won’t appear in your portal.
If you do configure them: they’ll appear on all of your Portal pages for your users to easily access.
Configure social links by clicking the Edit link in the Social media links card
If you don’t configure them: the corresponding icons won’t appear in your portal.
If you do configure them: they’ll appear on all of your Portal pages for your users to easily access.
Configure social links by clicking the Edit link in the Social media links card
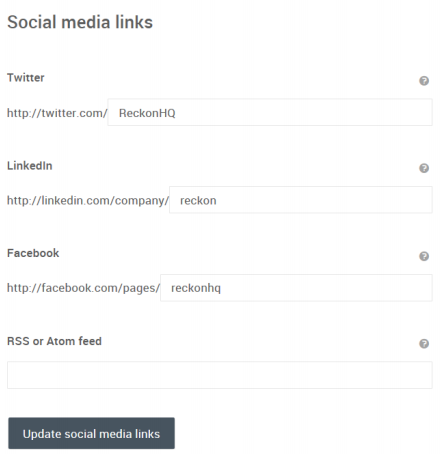
Click "Update social media links" to apply any changes.
5.5 Access your branded portal
Remember you can access your branded portal, and admire its beauty, by setting up your own branded client portal link.